Step by Step - How to apply Cinderella ( U-tip / nail-tip ) hair extensions
|
|
||||||||
| Step By Step - How To Apply Pre-bonded Cinderella Hair Extensions | ||||||||
| Back |
||||||||
|
||||||||
| Step 1 | Step 2 | Step 3 | ||||||
 |
 |
 |
||||||
|
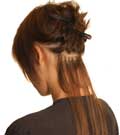
Hair was washed and dried using a pH Balanced shampoo and no conditioner, then starting at the back of the head, about a centimeter from the hairline, hair was sectioned into a horizontal row and extensions applied.
|
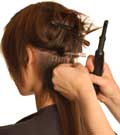
Working across the row, tiny strands of hair were attached to each extension using Cinderella Protein Bonds and its applicator
|
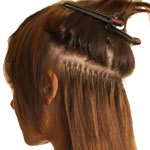
Extensions were applied in alternating shades of mid and dark brown, ensuring the probe only touched the bond.
Another section was taken a centimeter above the first, working in a horseshoe pattern up the head. |
||||||
| Step 4 | Step 5 | Step 6 | ||||||
 |
 |
 |
||||||
|
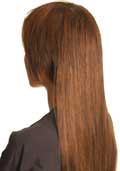
Once the crown was completed the hair was blow-dried straight.
Meanwhile, to prevent a build-up of product, the applicator was cleaned using a dark cloth and washing-up liquid. |
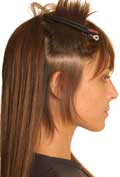
Starting on the right-hand side, hair was sectioned a centimetre above the hairline and extensions were applied, still alternating mid and dark brown. This was continued up the head taking 1cm sections at a time. |
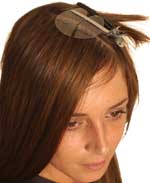
Working in the same way and ensuring there were no loose hairs in each section, this was continued on the other side to the temple area, using a shield to protect the scalp.
|
||||||
| Step 7 | Step 8 | |||||||
 |
 |
|||||||
|
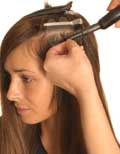
At the temple area extensions were applied in a more rounded pattern , pivoting towards the centre of the head and working in the direction of the hairline.
|
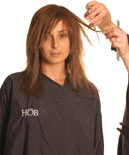
Cutting into style and shape. | |||||||


